CLI HDL setup for Soan-Papdi FPGA board
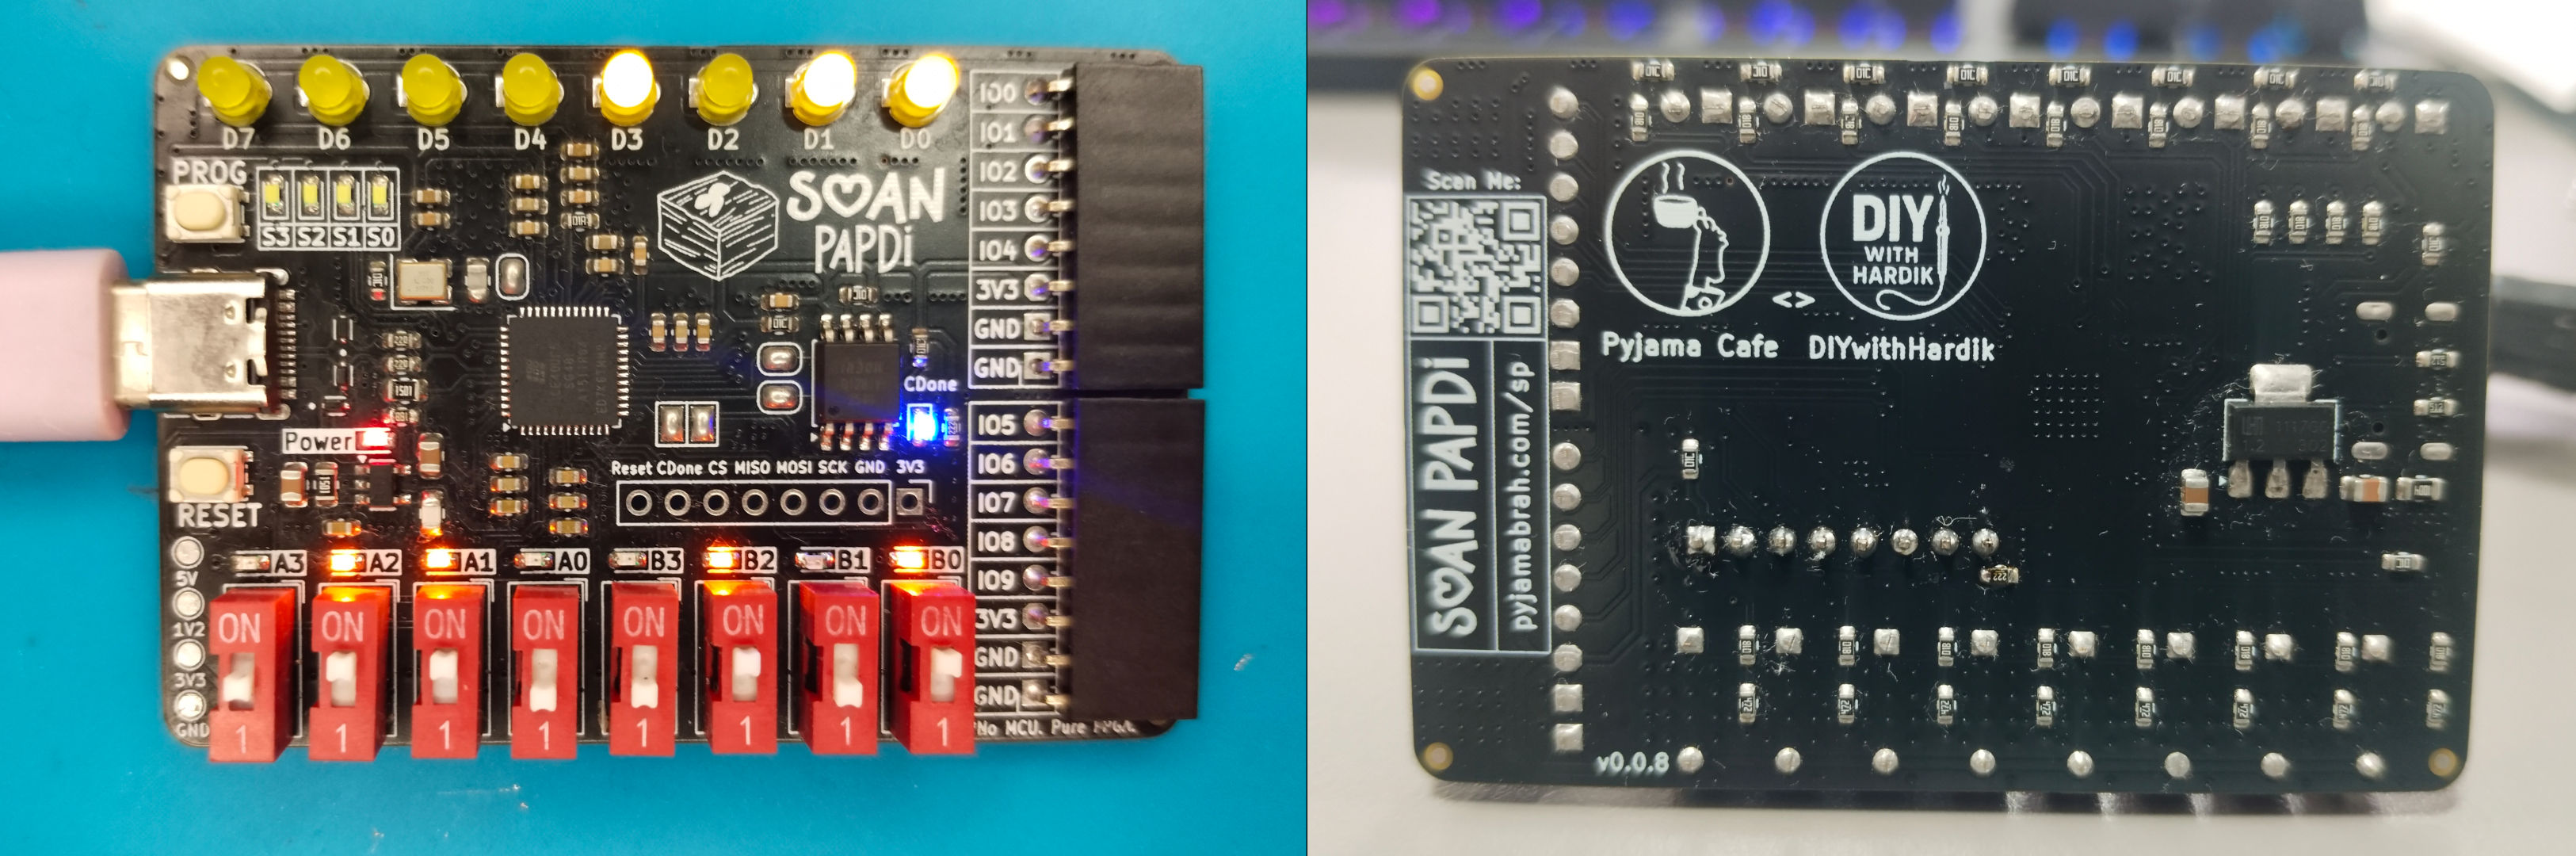
I recently got my first FPGA board called Soan-Papdi. It is based on Lattice iCE40UP5K which has 5,280 LUTs which is plenty for a beginner FPGA board and can even run a small RISC-V core. Here is the complete spec list.
| Specification | Details |
|---|---|
| FPGA Core | Lattice iCE40UP5K |
| Logic Resources | 5,280 LUTs (capable of hosting RISC-V) |
| Embedded Memory | 120 Kb BRAM / 1 Mb SPRAM |
| Internal Oscillators | 10 kHz and 48 MHz |
| Hard IP | 2 × SPI, 2 × I²C |
| DSP Resources | 8 × DSP multiplier blocks |
| Onboard Storage | 128 Mbit onboard SPI Flash |
| Interface | USB-C (DFU Bootloader) |
The issue is that it's advertised as beginner friendly FPGA board and to be used with iCE Studio and official getting started blog and video uses iCE Studio. But thats not my style, I want CLI based raw HDL development environment which I managed to get and this is the guide for that.
Environment Setup
1. Install Apio CLI
Apio CLI is an easy to install and use command-line tool for FPGA design from A to Z. For a quick start
Apio can be installed using pip or pipx. My recommendation use pipx.
$ pipx install apio

# OR

$ pip install apio
Now check the installation
$ apio --version
Apio CLI version 1.5.1 (generic-pypi-2026-08-20)
2. Setup a project
We will create a project directory and create an apio project using apio create command. First time when you run apio is going to download board info database. Apio does this occasionally to fetch fresh info about boards. At the end it will create apio.ini file.
$ mkdir my-fpga
$ cd my-fpga
$ apio create --board soan-papdi

Creating apio.ini file ...
The file 'apio.ini' was created successfully.
Next we need the pinout.pcf file which contains the pinouts for Soan-Papdi. I hoped apio create would have done this but I guess we need to get this manually. This pinout file is available at icestudio's GitHub. So we can just fetch from there.
$ wget https://raw.githubusercontent.com/FPGAwars/icestudio/refs/heads/develop/app/resources/boards/Soan-Papdi/pinout.pcf

# HTTP request sent, awaiting response... 200 OK
# Length: 1441 (1.4K) [text/plain]
# Saving to: ‘pinout.pcf’
#
# pinout.pcf 100%[====================>]   1.41K  --.-KB/s    in 0s
#
# 2026-08-26 13:38:14 (32.4 MB/s) - ‘pinout.pcf’ saved [1441/1441]
Finally we need a verilog file which actually contains some HDL code. Create a main.v file with following content.
module main (
    output wire D0, D1, D2, D3,
    output wire D4, D5, D6, D7
);

    assign D0 = 1'b1;
    assign D1 = 1'b0;
    assign D2 = 1'b1;
    assign D3 = 1'b0;
    assign D4 = 1'b1;
    assign D5 = 1'b0;
    assign D6 = 1'b1;
    assign D7 = 1'b0;

endmodule
Now you should have three files
$ ls
apio.ini  main.v  pinout.pcf
3. Build and flash
Now its time to build the project, use the apio build command
$ apio build

# Using env default (soan-papdi)
# Setting shell vars.
#
# yosys -p "synth_ice40 -top main -json _build/default/hardware.json " -q -DSYNTHESIZE main.v
# nextpnr-ice40 --up5k --package sg48 --json _build/default/hardware.json --asc _build/default/hardware.asc --report _build/default/hardware.pnr --pcf pinout.pcf -q
# Warning: unmatched constraint 'CLK' (on line 9)
# Warning: net 'CLK' does not exist in design, ignoring clock constraint
# Warning: unmatched constraint 'S0' (on line 22)
# Warning: unmatched constraint 'S1' (on line 23)
# Warning: unmatched constraint 'S2' (on line 24)
# Warning: unmatched constraint 'S3' (on line 25)
# Warning: unmatched constraint 'A0' (on line 28)
# Warning: unmatched constraint 'A1' (on line 29)
# Warning: unmatched constraint 'A2' (on line 30)
# Warning: unmatched constraint 'A3' (on line 31)
# Warning: unmatched constraint 'B0' (on line 32)
# Warning: unmatched constraint 'B1' (on line 33)
# Warning: unmatched constraint 'B2' (on line 34)
# Warning: unmatched constraint 'B3' (on line 35)
# Warning: unmatched constraint 'IO0' (on line 38)
# Warning: unmatched constraint 'IO1' (on line 39)
# Warning: unmatched constraint 'IO2' (on line 40)
# Warning: unmatched constraint 'IO3' (on line 41)
# Warning: unmatched constraint 'IO4' (on line 42)
# Warning: unmatched constraint 'IO5' (on line 43)
# Warning: unmatched constraint 'IO6' (on line 44)
# Warning: unmatched constraint 'IO7' (on line 45)
# Warning: unmatched constraint 'IO8' (on line 46)
# Warning: unmatched constraint 'IO9' (on line 47)
# 24 warnings, 0 errors
# icepack _build/default/hardware.asc _build/default/hardware.bin
# ============== [SUCCESS] Took 0.78 seconds =============
To flash this newly created build we need to connect the board to PC using a USB-C cable and put it in DFU programming mode. To do that press hold the PROG button and press RESET button. You'll see the Status LED(S0, S1, S2) should be flashing like following.
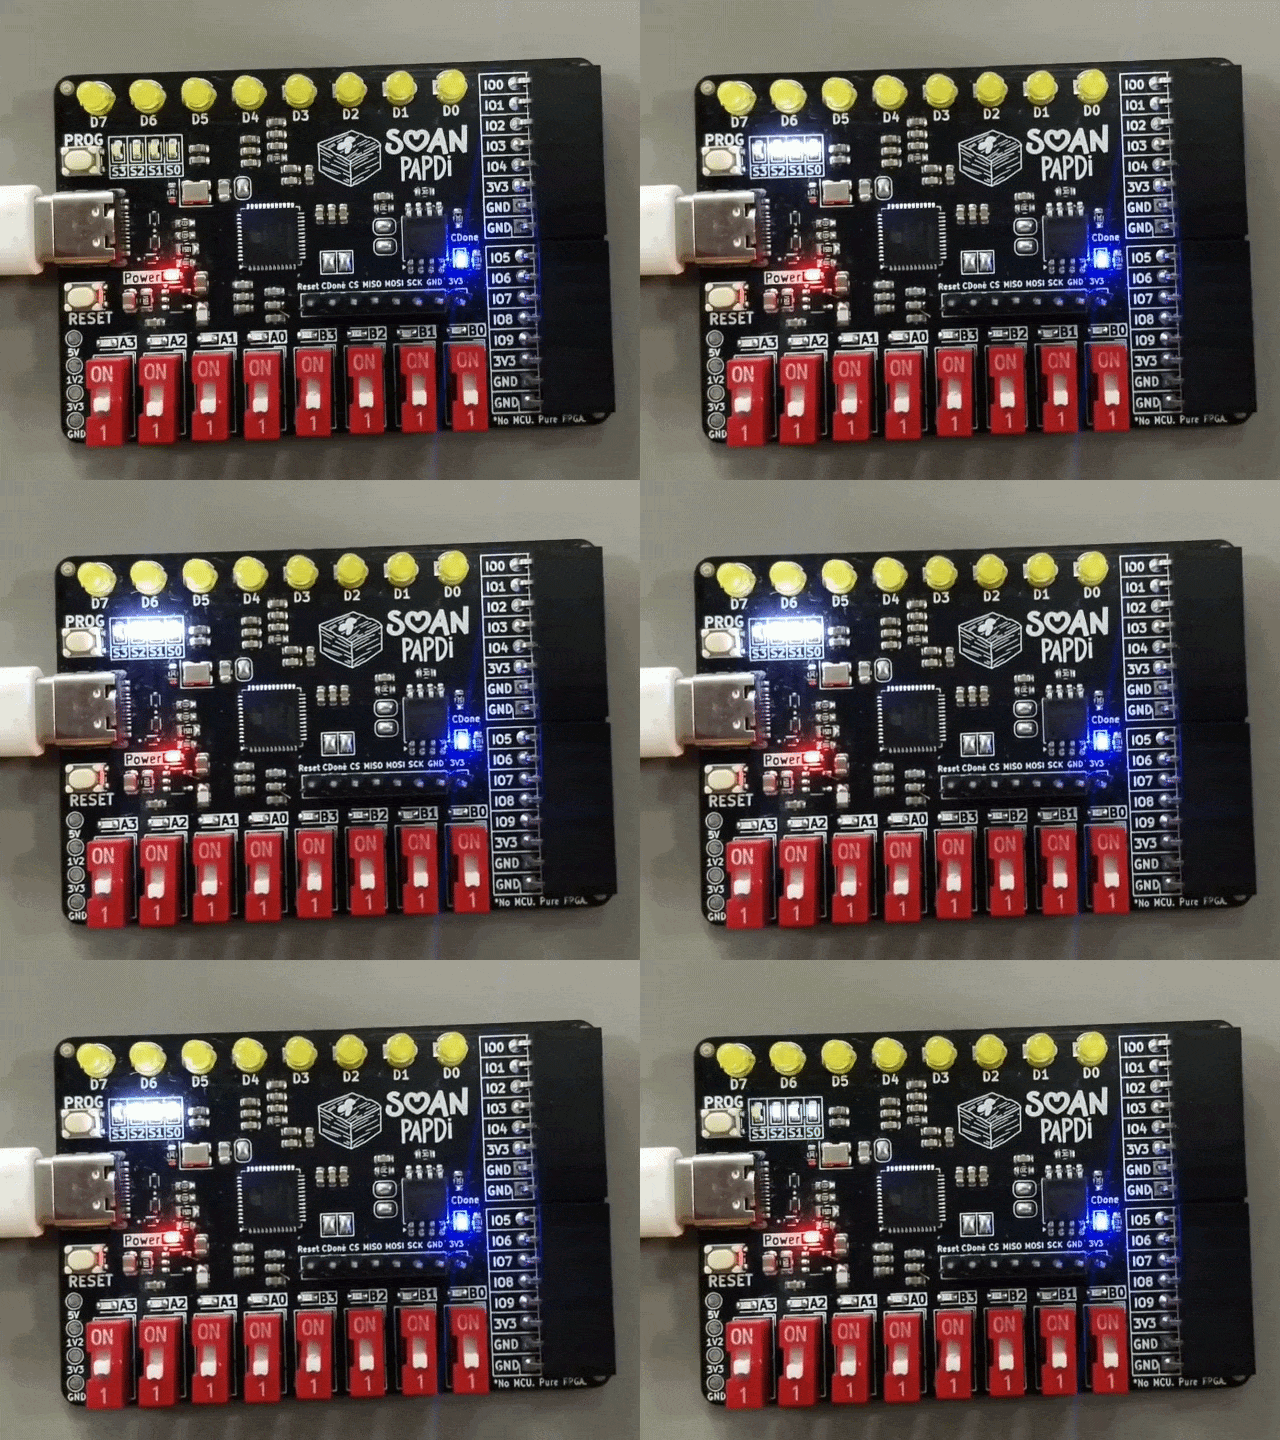
On your computer check dmesg and lsusb, you should see the board appearing
$ sudo dmesg | tail -7
# [4302916.718620] usb 3-1.2.4: new low-speed USB device number 51 using xhci_hcd
# [4302924.856679] usb 3-1.2.4: new full-speed USB device number 52 using xhci_hcd
# [4302924.963574] usb 3-1.2.4: New USB device found, idVendor=1d50, idProduct=6146, bcdDevice= 0.06
# [4302924.963582] usb 3-1.2.4: New USB device strings: Mfr=2, Product=3, SerialNumber=1
# [4302924.963585] usb 3-1.2.4: Product: Soan Papdi FPGA (DFU)
# [4302924.963587] usb 3-1.2.4: Manufacturer: Ashok Tinkering Labs
# [4302924.963589] usb 3-1.2.4: SerialNumber: e46560a1df3f1b38

$ lsusb | grep -i soan
# Bus 003 Device 052: ID 1d50:6146 OpenMoko, Inc. Soan Papdi FPGA (DFU)
Lets finally upload the image using apio upload.
$ apio upload

# Using env default (soan-papdi)
# Setting shell vars.
# Warning: --serial-port ignored.
# Scanning for a USB device:
# - FILTER [VID=1D50, PID=6146, REGEX="^Soan Papdi.*"]
# - DEVICE [1D50:6146] [3:52] [Ashok Tinkering Labs] [Soan Papdi FPGA (DFU)] [e46560a1df3f1b38]
# dfu-util -d 1D50:6146 -a 0 -D _build/default/hardware.bin
# dfu-util 0.11-dev
#
# Copyright 2005-2009 Weston Schmidt, Harald Welte and OpenMoko Inc.
# Copyright 2010-2021 Tormod Volden and Stefan Schmidt
# This program is Free Software and has ABSOLUTELY NO WARRANTY
# Please report bugs to https://sourceforge.net/p/dfu-util/tickets/
#
# dfu-util: Warning: Invalid DFU suffix signature
# dfu-util: A valid DFU suffix will be required in a future dfu-util release
# Opening DFU capable USB device...
# Device ID 1d50:6146
# Device DFU version 0101
# Claiming USB DFU Interface...
# Setting Alternate Interface #0 ...
# Determining device status...
# DFU state(2) = dfuIDLE, status(0) = No error condition is present
# DFU mode device DFU version 0101
# Device returned transfer size 4096
# Copying data from PC to DFU device
# Download        [=========================] 100%       104090 bytes
# Download done.
# DFU state(2) = dfuIDLE, status(0) = No error condition is present
# Done!
# ================= [SUCCESS] Took 2.42 seconds =================
4. Conclusion
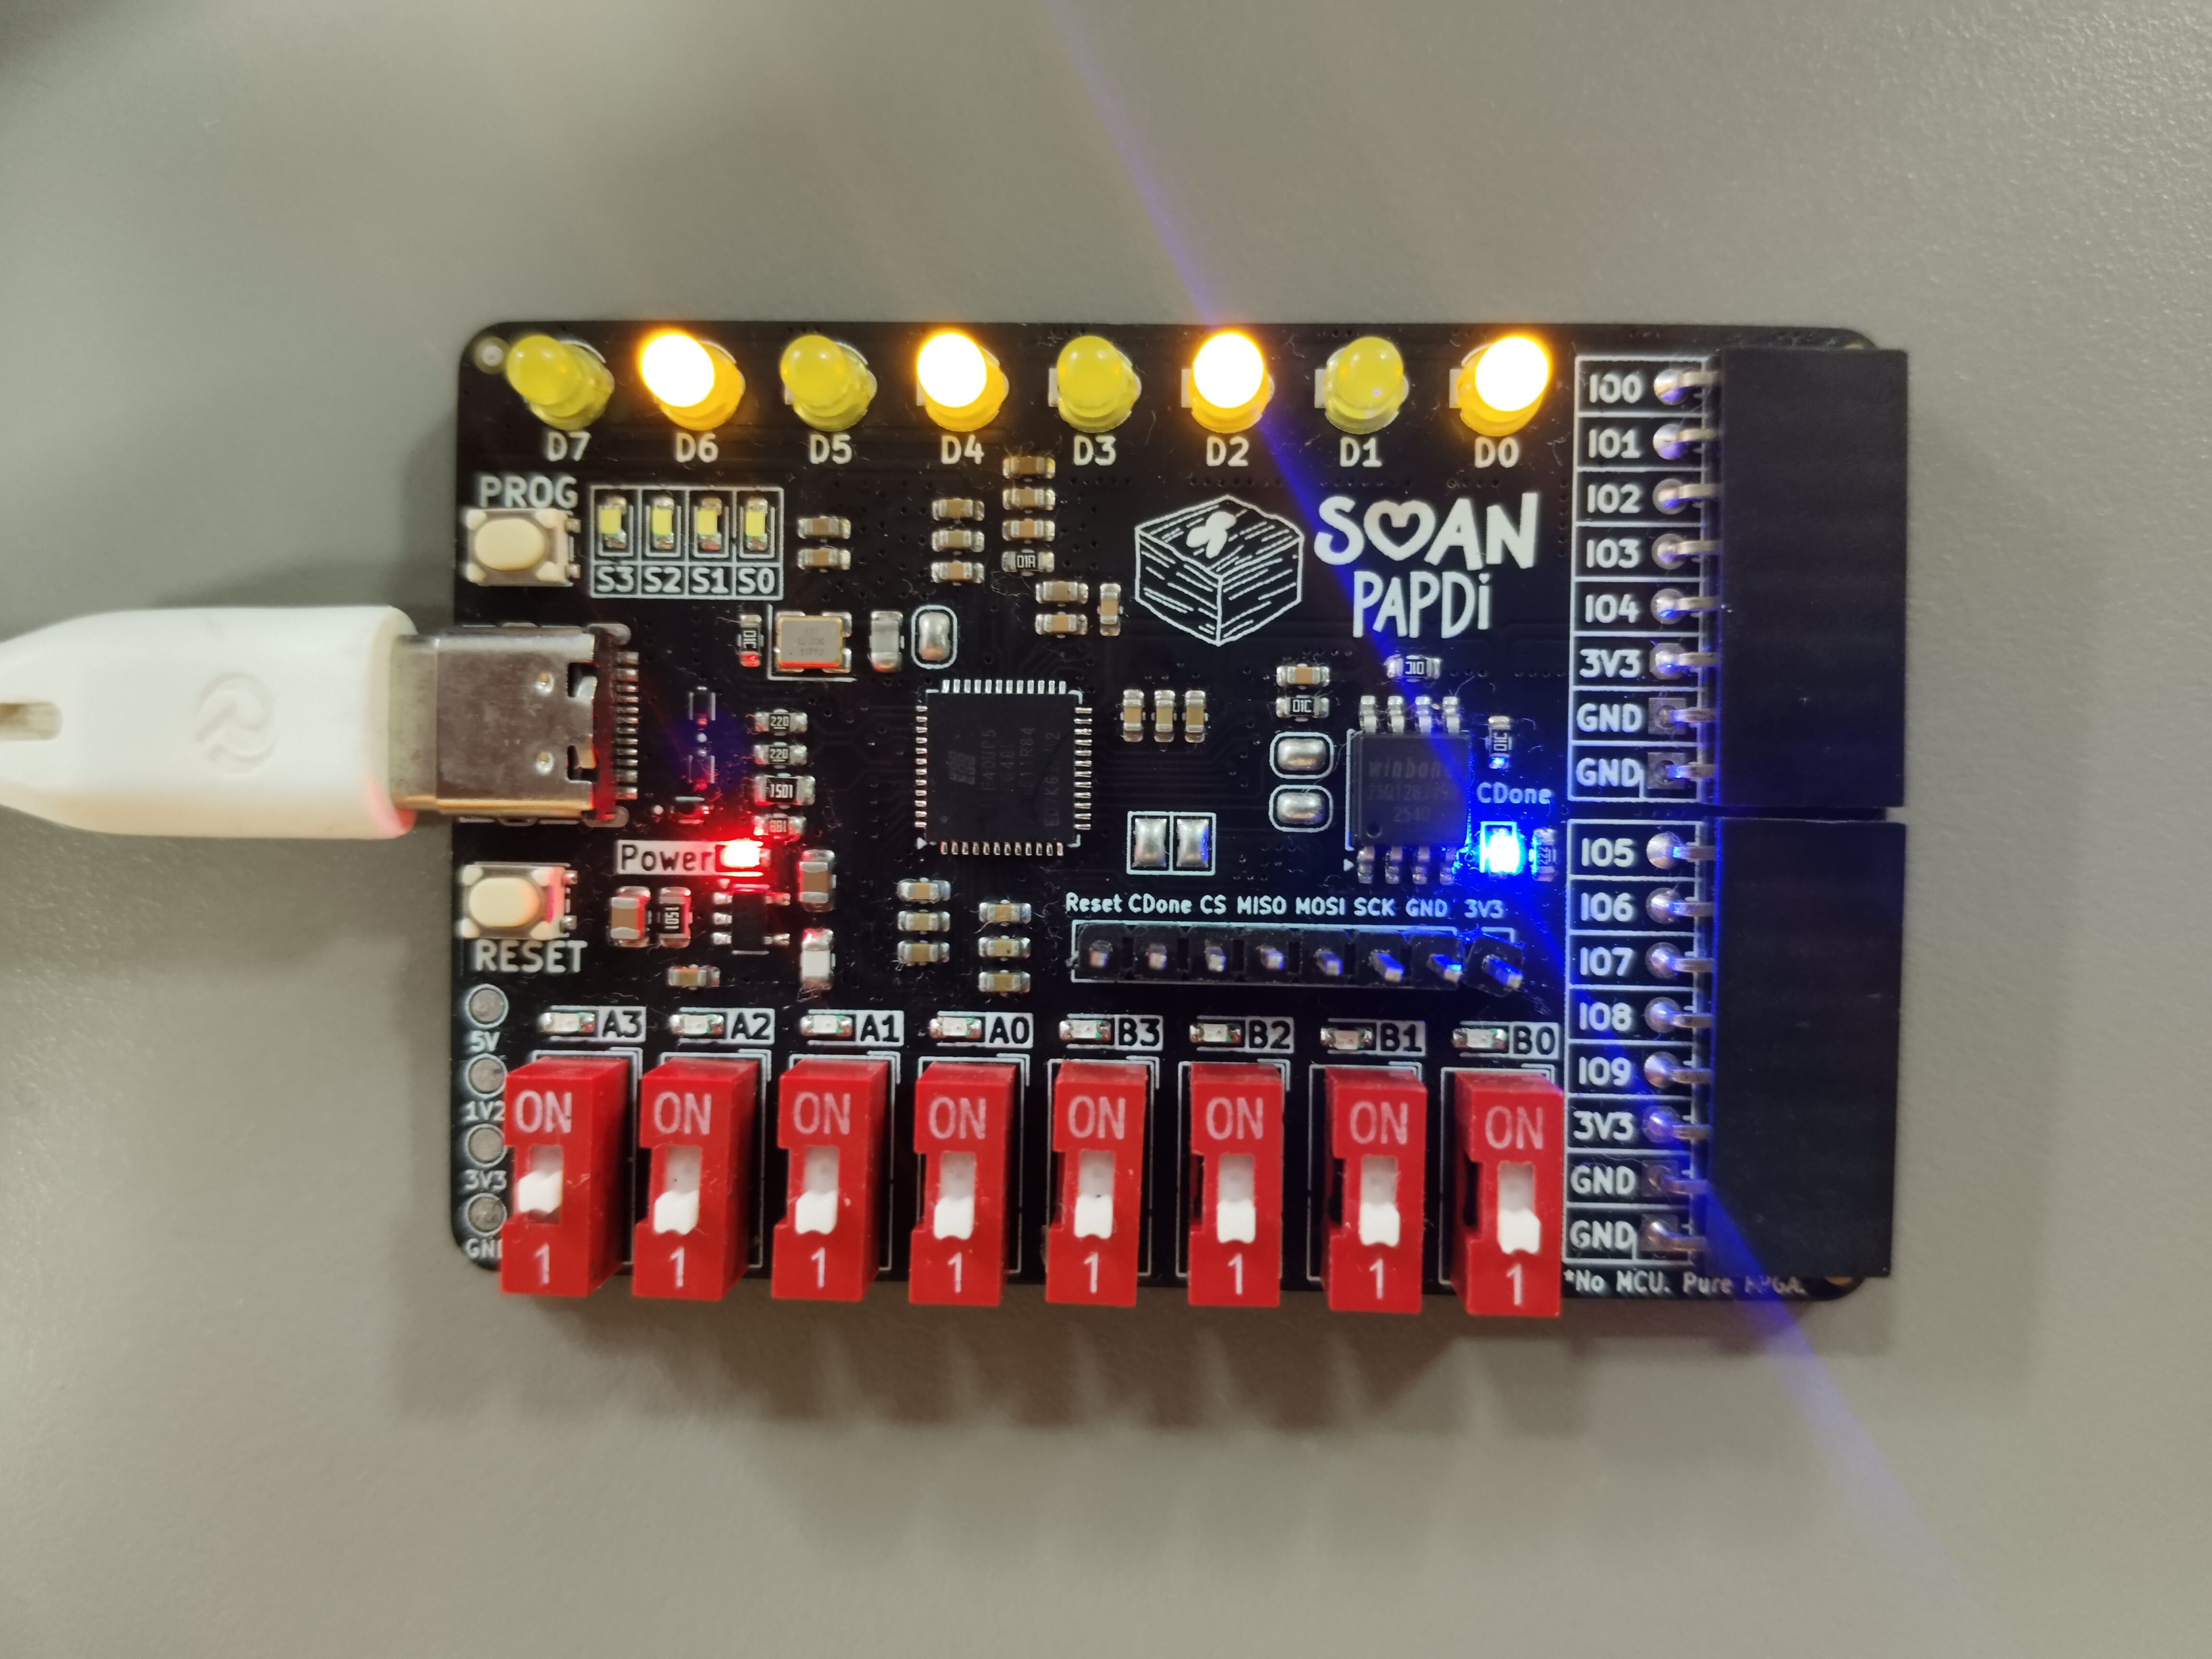
Now finally press the RESET button and you should see D0,D2,D4,D6 being on. Congrats!!! You just wrote your first HDL !!!